Arranging widgets in the grid-based layout
With the grid-based layout, you can easily change the size and the position of widgets on your dashboards.
Prerequisites
You have added a dashboard with the grid-based layout as described in Dashboards.
You are assigned to the Power User role or higher.
Editing widgets
Proceed as follows
Click the options icon ![]() in the widget you want to edit and select Edit Widget.
in the widget you want to edit and select Edit Widget.
→ The configuration page of the widget is displayed.
Also refer to the Editing a widget chapter.
Rearranging widgets
Proceed as follows
Click the options icon
 next to the dashboard name and from the menu that opens, select Rearrange.
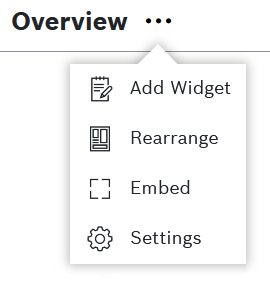
Alternatively, click the options icon of any widget and then select the Rearrange option.
On the header bar, use the Zoom out and Zoom in icons, if you need to see an overview of the entire dashboard and then navigate more easily to the relevant widget(s).

Drag and drop the widgets to the desired location. You can also drag and drop a widget (including a Tab widget) directly into a tab of a Tab widget.
When you are dragging a widget, a shade shows you where you the widget's location will be automatically adjusted.

To resize a widget, click any of its borders and drag it to the desired size.
→ The widget is resized as desired and automatically adjusted as shown by the shade.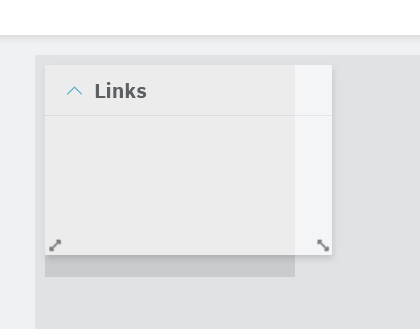
Widgets have a minimum and maximum size to avoid scrolling and white space.
For widgets with dynamic data, e.g. the Table widget, the size of the widget is automatically adjusted to display all rows without the need to scroll.
To undo and respectively redo a rearrangement, use the Undo and Redo icons on the header bar. You can repeat these actions as many times as needed.
These icons become active only after you have moved a widget on the dashboard.
To decrease and increase the number of columns on the dashboard grid, use the respective icons on the header bar, namely Decrease columns
 and Add column
  .
.The grid is not displayed but is still applied in the background.
Such an action will not affect the tabs within a Tab widget on the dashboard. If you need to configure the number of grid columns for each tab of a Tab widget, enter the Tab widget's configuration editor and follow the steps described in Tab widget.
To save your changes, click the Save icon
 on the header bar.
To discard your changes, click the Discard layout changes
 icon on the header bar.
General functions
Maximizing/Minimizing widgets
Proceed as follows
To maximize the widget, click the options icon
in the widget and select  Maximize/Minimize.
→ The widget is enlarged.To minimize the widget, click the options icon
in the widget and select  Maximize/Minimize.
→ The widget is restored to its regular size.
Refreshing a diagram
Proceed as follows
Click the options icon ![]() in the widget you want to refresh and select Refresh Diagram.
in the widget you want to refresh and select Refresh Diagram.
→ The data in the widget is refreshed.
Downloading the JSON
Proceed as follows
Click the options icon
in the widget you want to download the JSON from and select Download JSON.Open or save the file to the desired location.
→ The widget data has been downloaded.
Downloading the CSV
Proceed as follows
Click the options icon
in the widget you want to download the CSV from and select Download CSV.Open or save the file to the desired location.
→ The widget data has been downloaded.